Bedroom Renovation
Since we moved into this super 80's house, we have renovated piece by piece. Over the past four years we have really neglected our bedroom.
Here is what it looked like when we bought the house. Yikes!

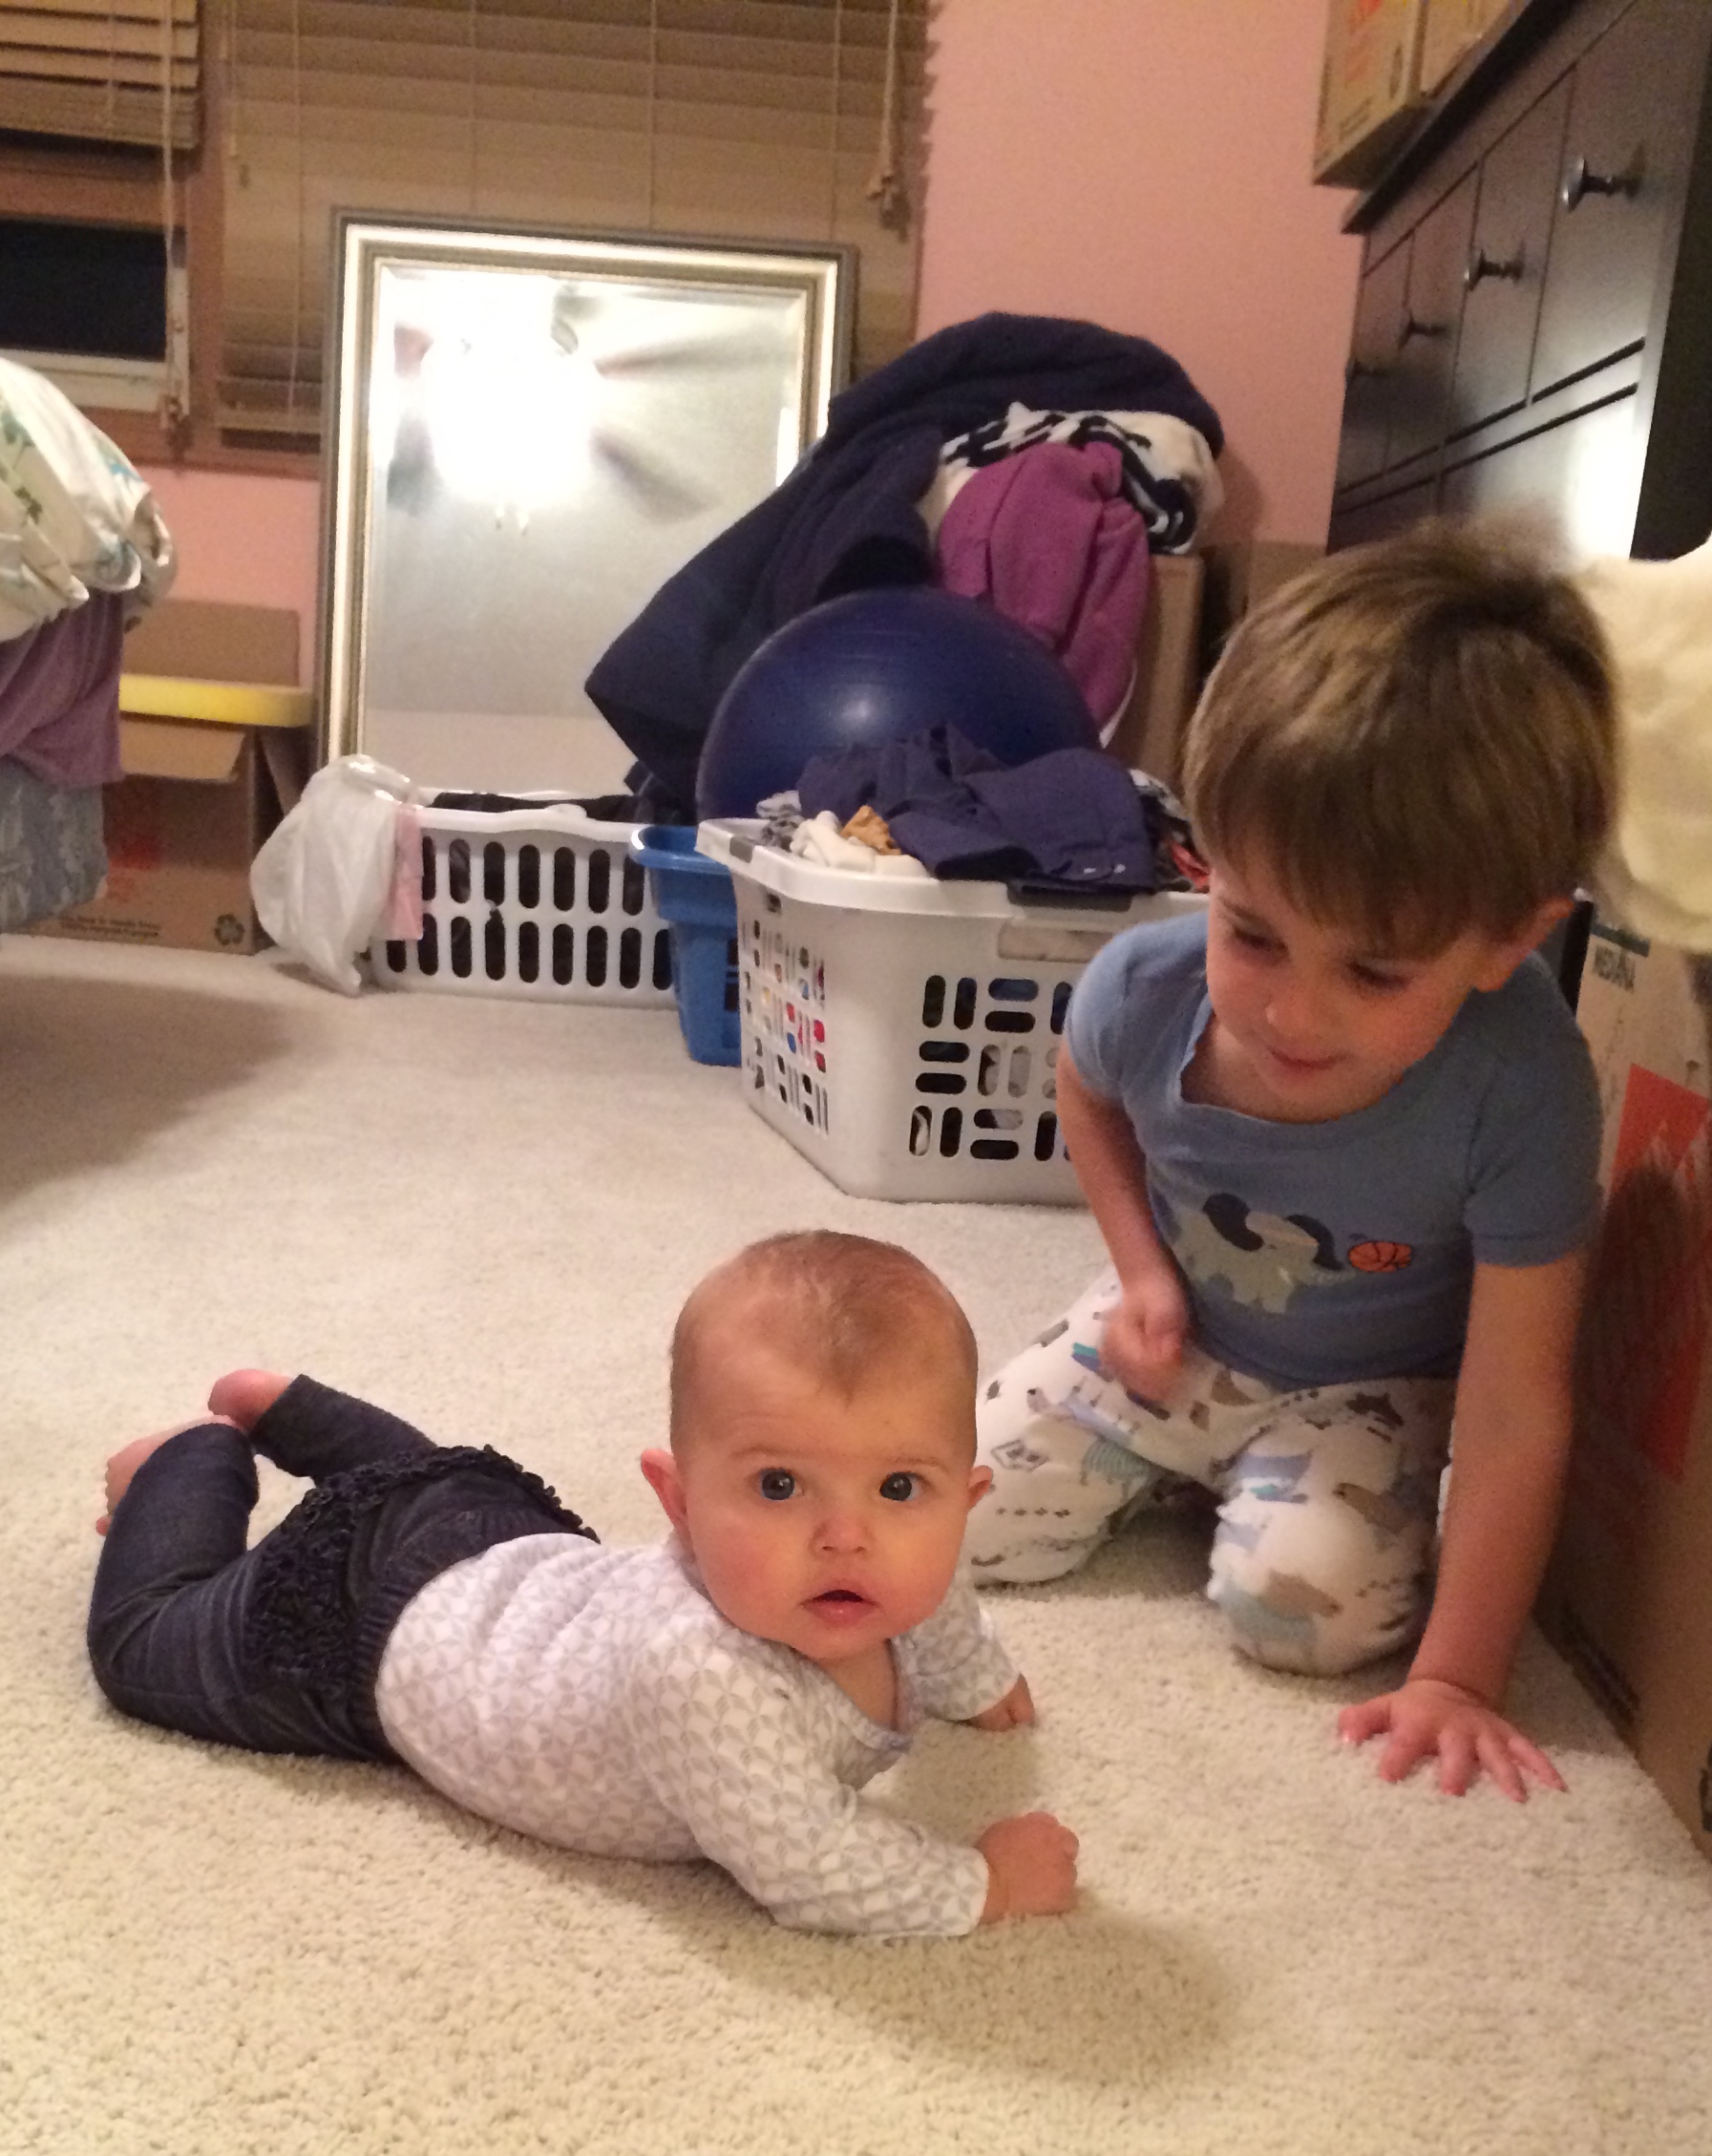
Look at these babes when we moved in! I miss them being so little! Kind of.
When we moved in the walls were pink, the carpet was gray (? I am not really sure what color that was supposed to be) and pretty old, it may have been original, and everything was oak.
We did little things here and there, like painting, or buying a bed frame, but we always kind of put off the major work since so many other rooms in the house needed SO MUCH work. Mostly, we are not hanging out with friends and family in our bedroom so we let it sit on the back burner for a while.
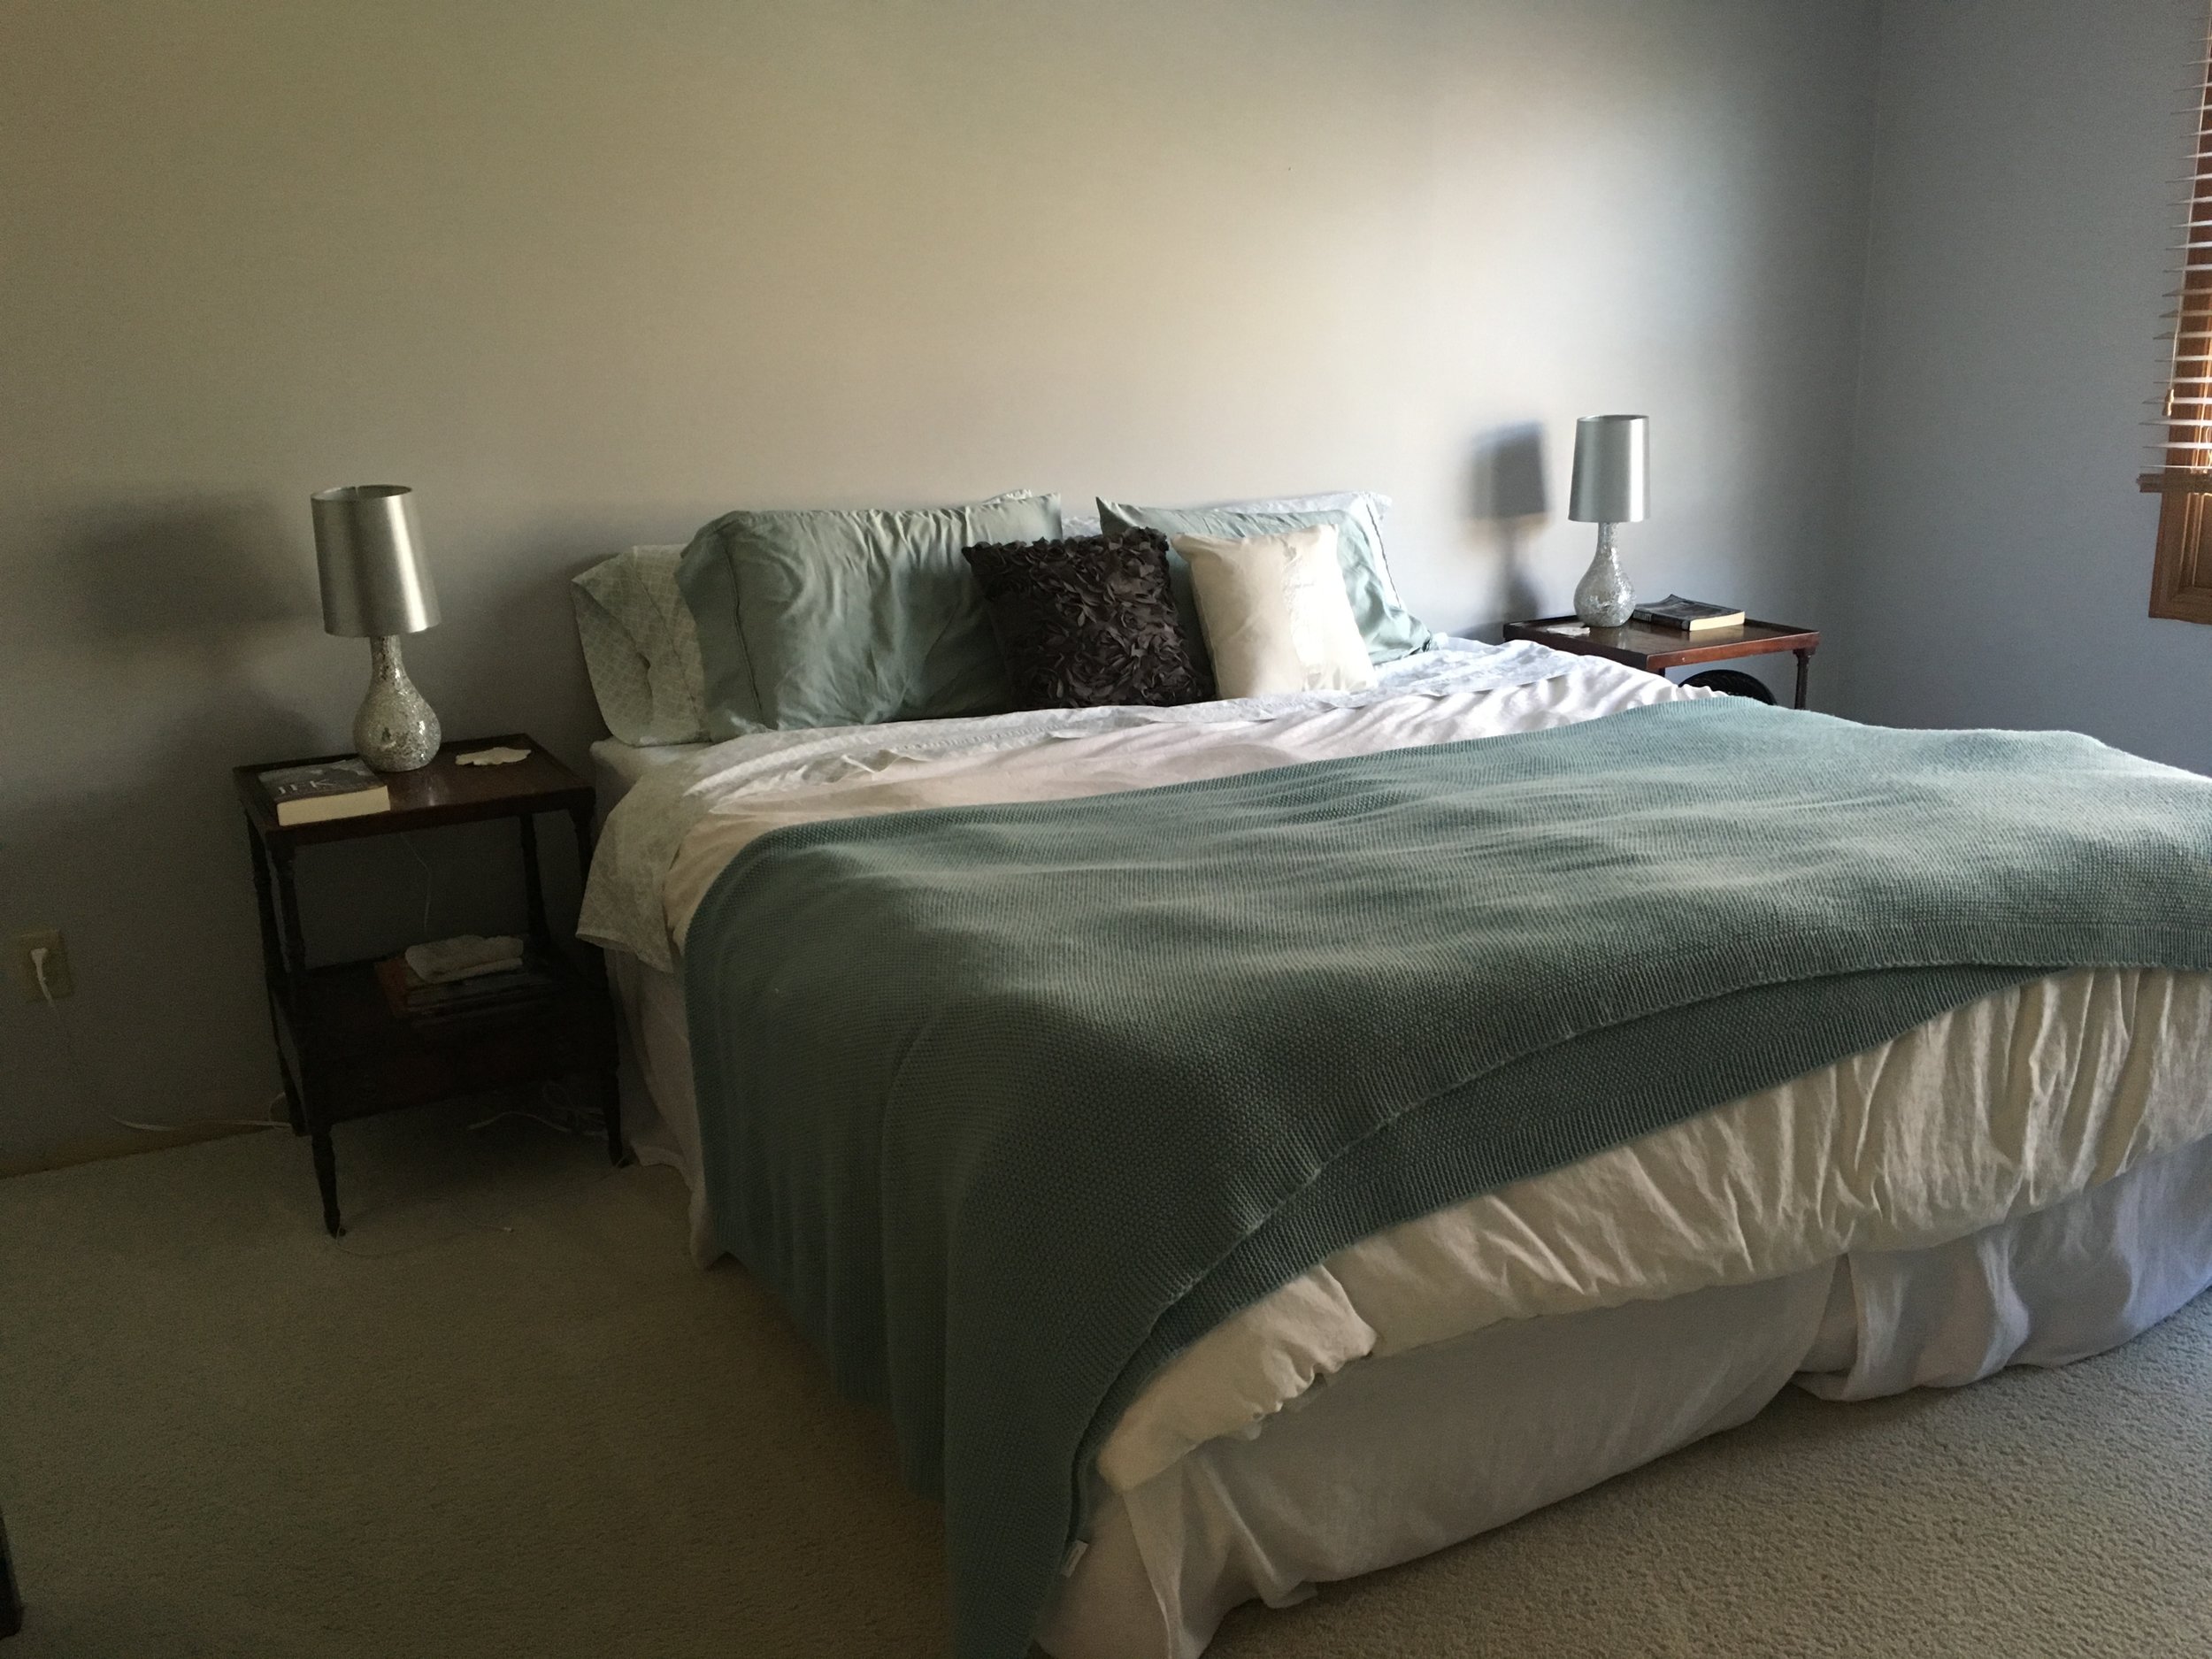
Seriously, YIKES!
We also stained the trim really dark like the dining room and then I decided I hated that also. So the trim also had to be painted white.
Once we finished the paver patio out back (read about it here!) we knew it was something we wanted to do soon. I planned to reno the kids' bathroom first since it is in a ROUGH situation at this point. But then fate intervened.
In the spring after my emergency surgery I decided we should become dog owners. I have never owned a dog and I don't know what led me to this decision overnight, but my husband blames it on the anesthesia. Enter Ozzy. He's a cute little guy but my worst fear of pet ownership was realized when he had watery diarrhea on our bedroom carpeting one day while I was trying to work from home.
Gross.
So gross, in fact, that I decided not even to bother trying to clean the carpet in the bedroom. It had been barfed on and peed on - and that was only in the four years that we owned this house. This carpet seems like original to the year when this house was built and that was 1987. Who even knows what nastiness had befallen it prior to our ownership.
Sidebar: what is the DEAL with carpet anyway? Who decided to get a rug and nail it to the ground so you can't pick it up and send it away to be cleaned? Just gross!
So we ripped up the carpet and put in our DIY plank hardwood floors. The DIY plank wood floors is the coolest technique we have learned. We get a lot of questions about them and it is what inspired me to start this whole blogging thing. Read about them here!

I liked the color of the stain we used in the family room so we used the same kind in the bedroom. It’s called Dark Walnut and it is made by rustoleum. I like it because it is a classic color for wood floors. As much as I enjoy our DIY makeovers, I don’t feel like making the floor some trendy color and then wanting to change it a few years from now.

We were able to lay this floor pretty easily. Rather than staining the boards and subsequently nailing them down, we nailed them down first and then stained them. It was SO MUCH easier to do it that way! I won’t stain them first ever again.
We learned the hard way so you don’t have to!
Once the floors were down I looked around the room and I just hated the way the dressers looked. I had been considering getting all new dressers for a while, but I did not want to invest in all new furniture when the dressers are really fine, I just hate the color.


So we painted the dressers! It was a simple side project on an otherwise crazy project weekend. I am really happy with the way they came out. Read about how to paint furniture here. We have also learned the hard way with painting furniture. I have tried chalk paint, I have tried latex paint, I have spray painted and I learned about what works best from when we painted our kitchen cabinets. Painting the cabinets was the hardest but most gratifying DIY project we have ever done, but the good news is that painting furniture is much easier.

Look how awesome this dresser looks compared with the dark color we originally had! I am really happy with the floors and the room just has a much cleaner feel.

I picked up this basket at Home Goods to contain the decorative pillows when they are not being used. I found this adorable bench on Wayfair. It was really easy to put together also, I carried it upstairs and did it myself!
The wall next to the bed was looking a little empty to me and I did not want to add more are or photos since we have four giant photos running across the length of the bed. I also wanted some storage for the extra blankets. I have seen folks re-purpose old ladders as a towel or blanket rack but we didn’t have any old ladders so I had Terry build one.
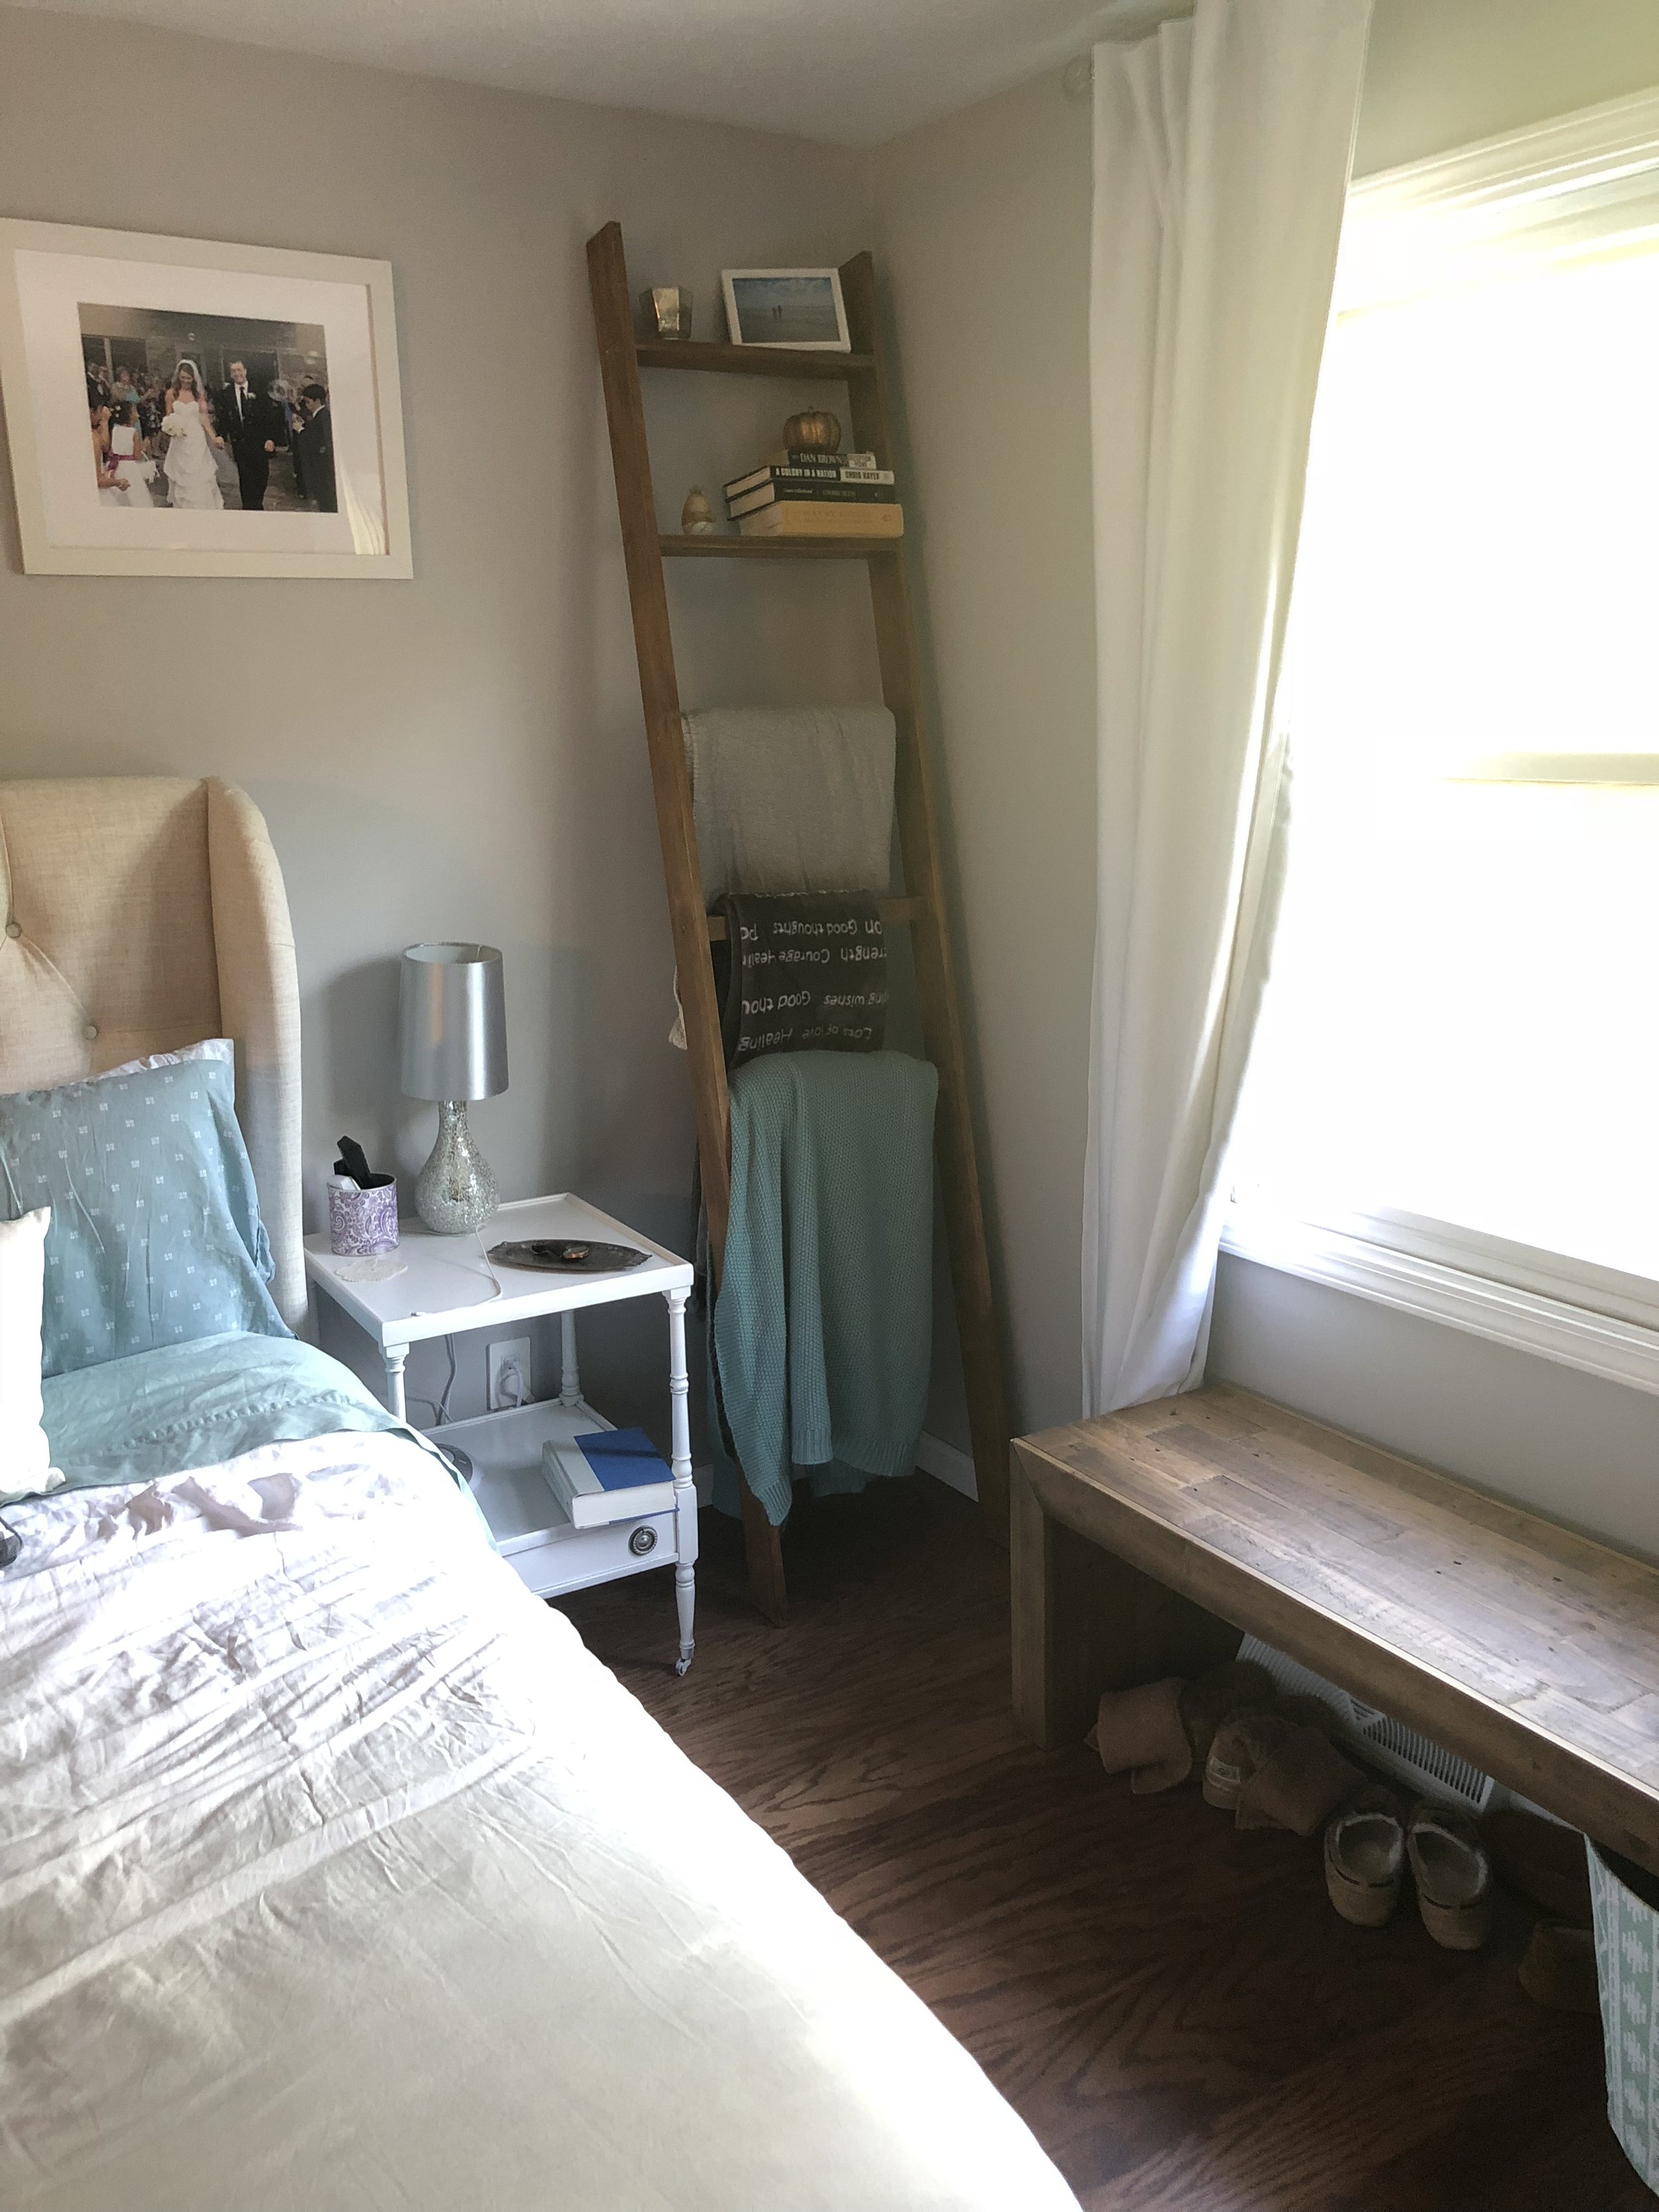
I really like the way it came out! He made the top two “steps” wider shelves and the bottom three pieces are smaller so the blankets can fit over them easily. That is the nice thing about making your own, you get to design exactly what you want!
I love the style it adds to the room.
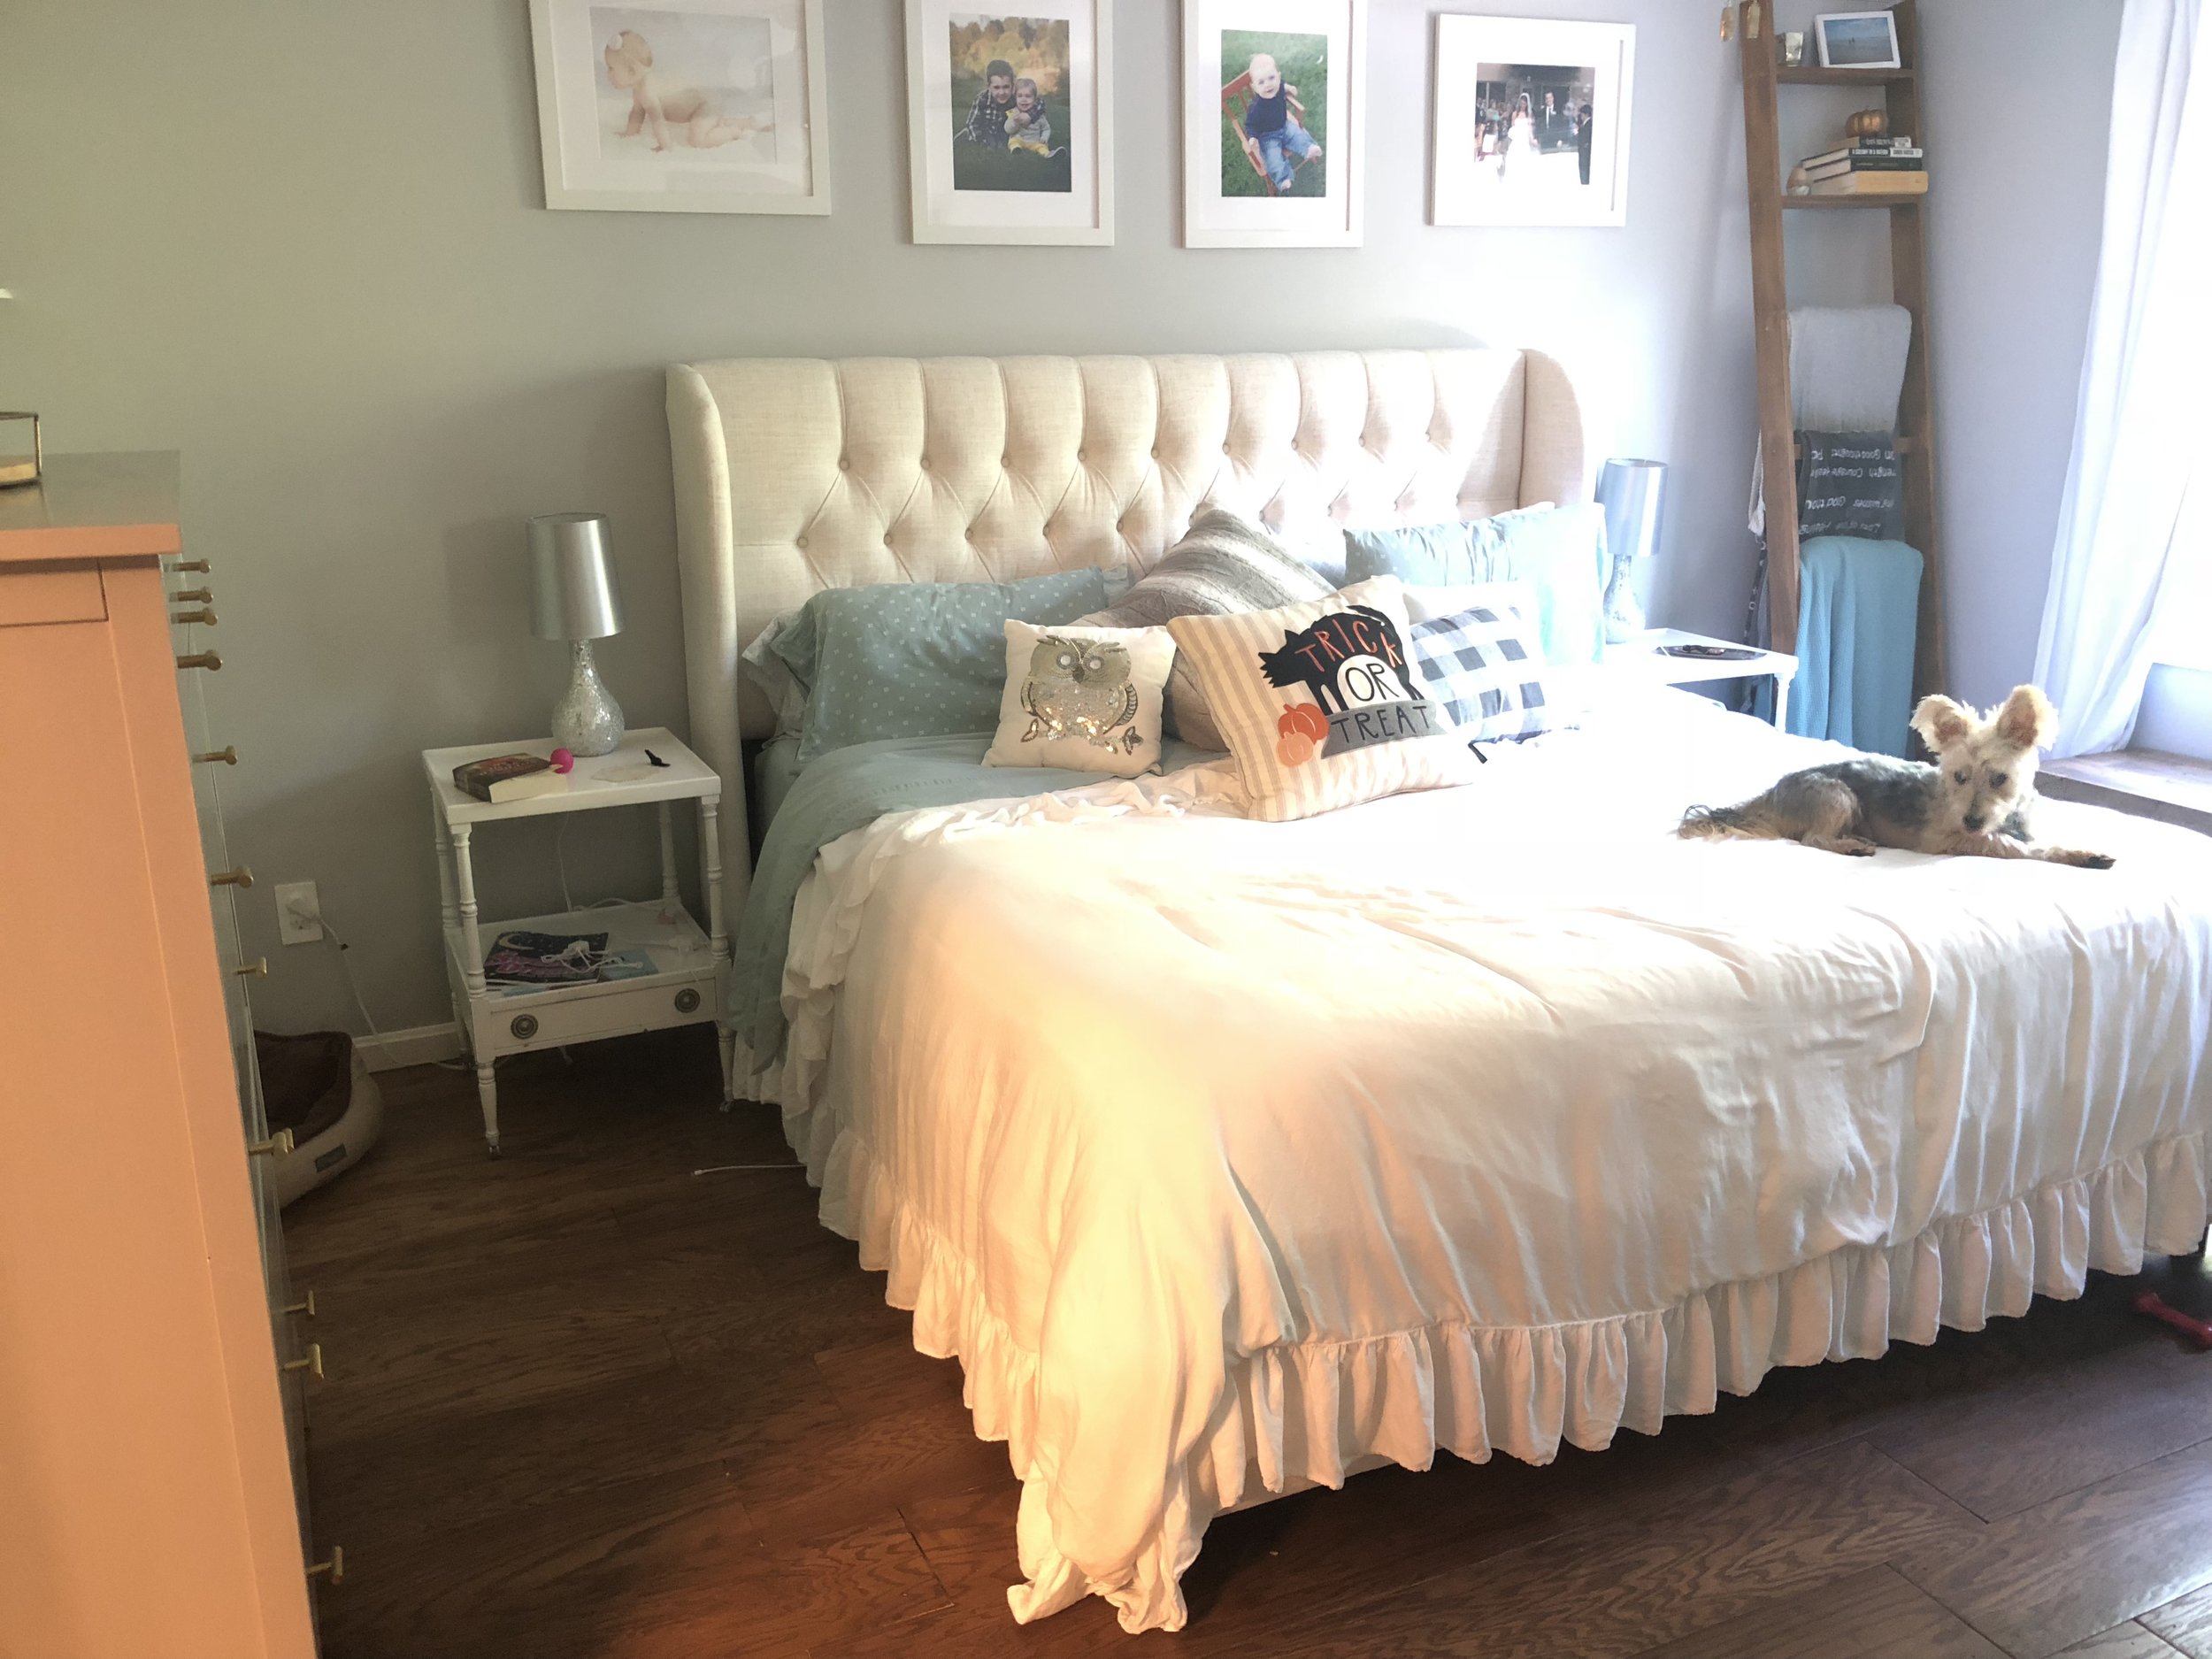
Also do you see those adorable pictures of my babies hanging above the bed? The one of Madeline crawling is my absolute favorite. Photo credit to Jules White Photography - she is the best. Kids grow up so quickly. Treat yourself to some nice photos before the little moments pass you by.
Somewhere along the way we also painted those side tables white. I don’t really remember when but it was a part of my exorcism of dark furniture. I also bought this bed frame from Wayfair earlier this year. We spent nearly ten years with just mattresses on a metal frame until I decided that our room needed some TLC.

We also finally mounted our tiny little bedroom tv on the wall which allowed me to style the top of the dresser. I found this tray at Target and most of the decorations are from the dollar section at Target as well. Who doesn’t love Target?

I still have some plans for some minor additions. It needs a rug and I am eye-ing an armoire for jewelry for that corner where the dog bed is currently. We are really happy with the way it turned out! It is such a nice feeling to relax in a bedroom that we like. We’ve come a long way from the pink walls.