DIY Sideboard
In the midst of at least four other projects I decided that we needed some storage in the dining room. We have had this cute little wine cabinet for ten years and I have basically decorated around it for that amount of time. I was sitting around looking at the room and lamenting the lack of counter space. Then I realized that I had even using just this tiny cabinet when I had enough room space for a larger piece of furniture. I started to think about adding a sideboard or a buffet type of piece of furniture.

Naturally, I did what I do best. I got online and started shopping.
Anything for sale that was halfway decent looking was EXPENSIVE and not really as long as I wanted it. So I did what I do second best, hop on the Ikea website and look for something to hack!
The Cabinets:
Look at this simple cabinet. So inexpensive and full of possibilities! I bought three. Two with opaque doors and one with glass doors and shelves. It was $300 total. (I had to pay for shipping so slightly more for me, but if you are lucky enough to live near an Ikea you can save on that part!)

The cabinets arrived and we assembled them and they looked like this just sitting side by side.
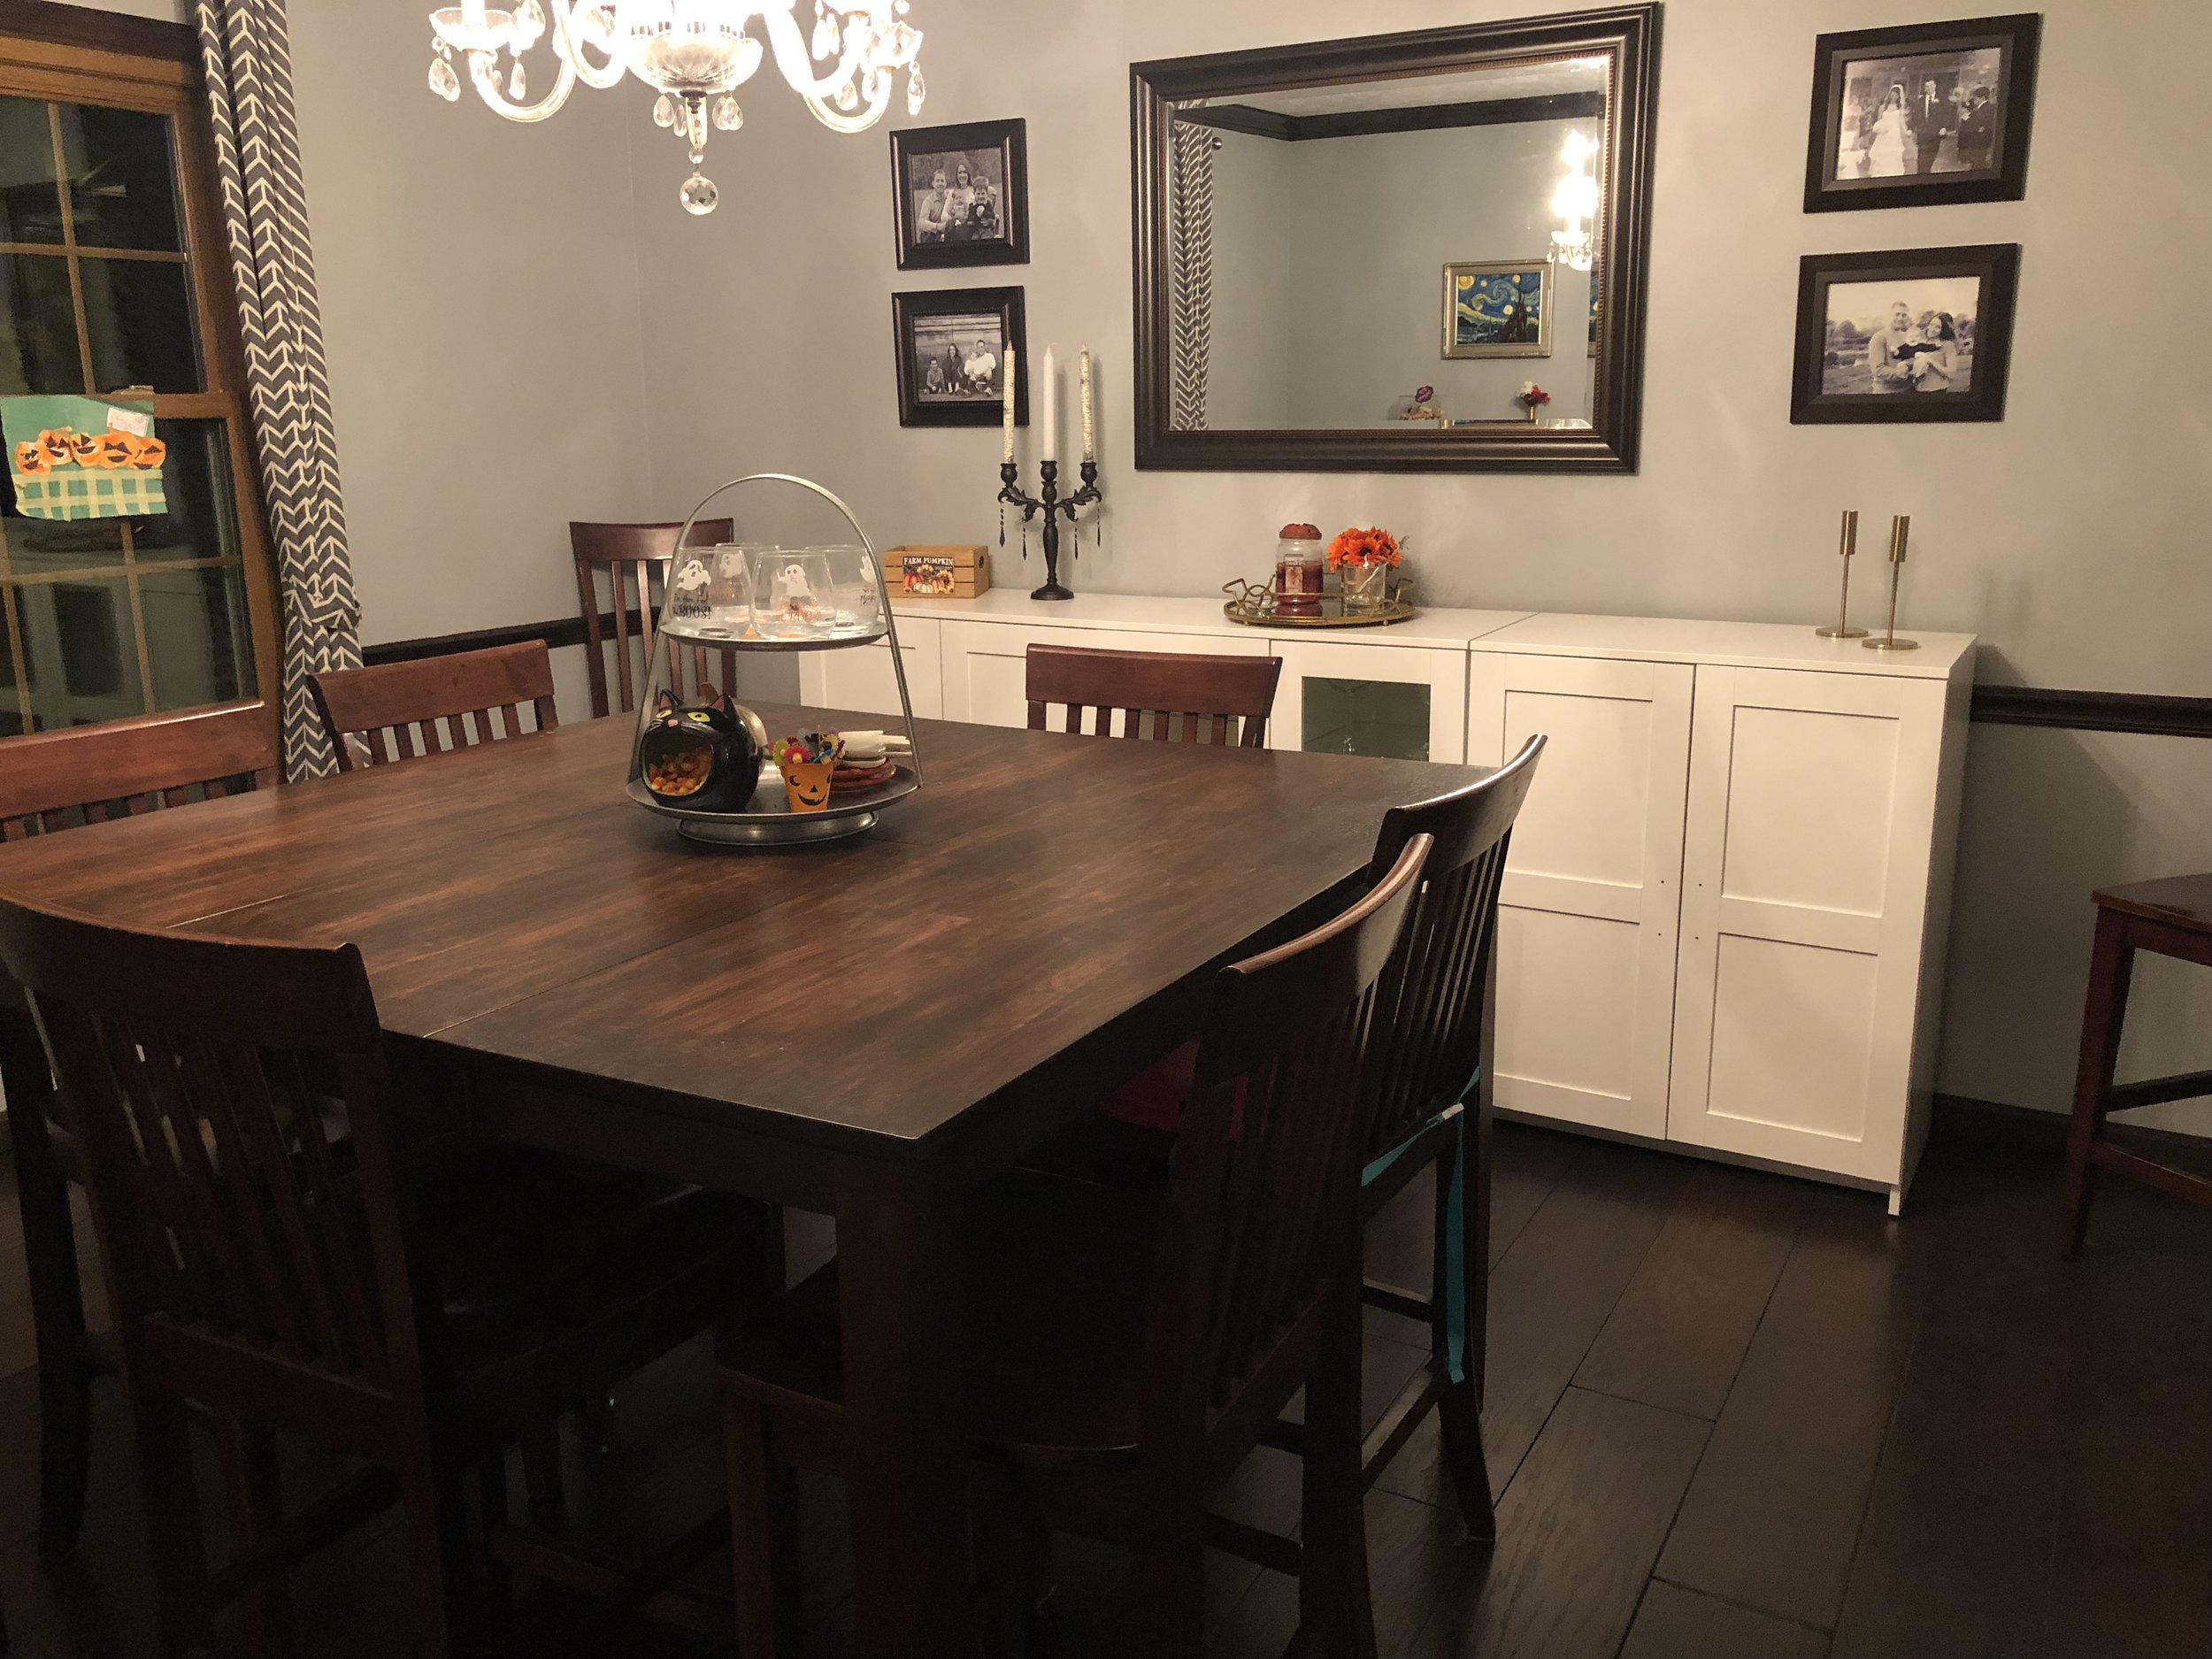
They look great, right? Already an improvement on storage space. But they are so plan and needed some style.
So first I added these cabinet pulls I found on Amazon:
The Cabinet Pulls:

It is very important to note that the spacing size of the Ikea cabinet pulls is 3.75 inches, not 3 inches like most standard cabinets in the United States. I found this out the hard way by ordering an entire 10 pack of 3 inch pulls, but I made good use of them elsewhere in the house and by helping out a friend with some decorating.

The pulls added a lot of style. I was happy, but I had bigger plans. You can see below that it still looks like three separate pieces. I wanted it to be fluid, one piece of furniture.

The Counter Top:
I sent Terry out to get a piece of wood for the top. He went to our local lumber store with the measurements and they milled us a piece for the top. Instead of getting a piece with the exact measurements, leave an inch extra on every side. It looks better that way.
We picked up the wood about a week later and Terry sanded it until it was nice and smooth. Next, the question was what color to stain this unfinished piece of lumber? I used to think that everything in a room had to match, but I am coming off of this notion. We have a lot of dark already in this room and I wanted something lighter. I love the way that the white piece of furniture brightened the room and I wanted to keep it light.
So we chose a shade or so lighter, the same shade we have done on the DIY hardwood floors we have in several other rooms of our house. It is called dark walnut by Varathane. Then we added a coat of water based poly to protect it from spills, rings, water, and just regular wear and tear. I prefer water based poly because it dries really fast, it doens’t smell as bad as oil based, and it does an amazing job protecting the finish of wood. We have used it on our floors and it has held up to boots, snow, a crazy dog, and my high heels.
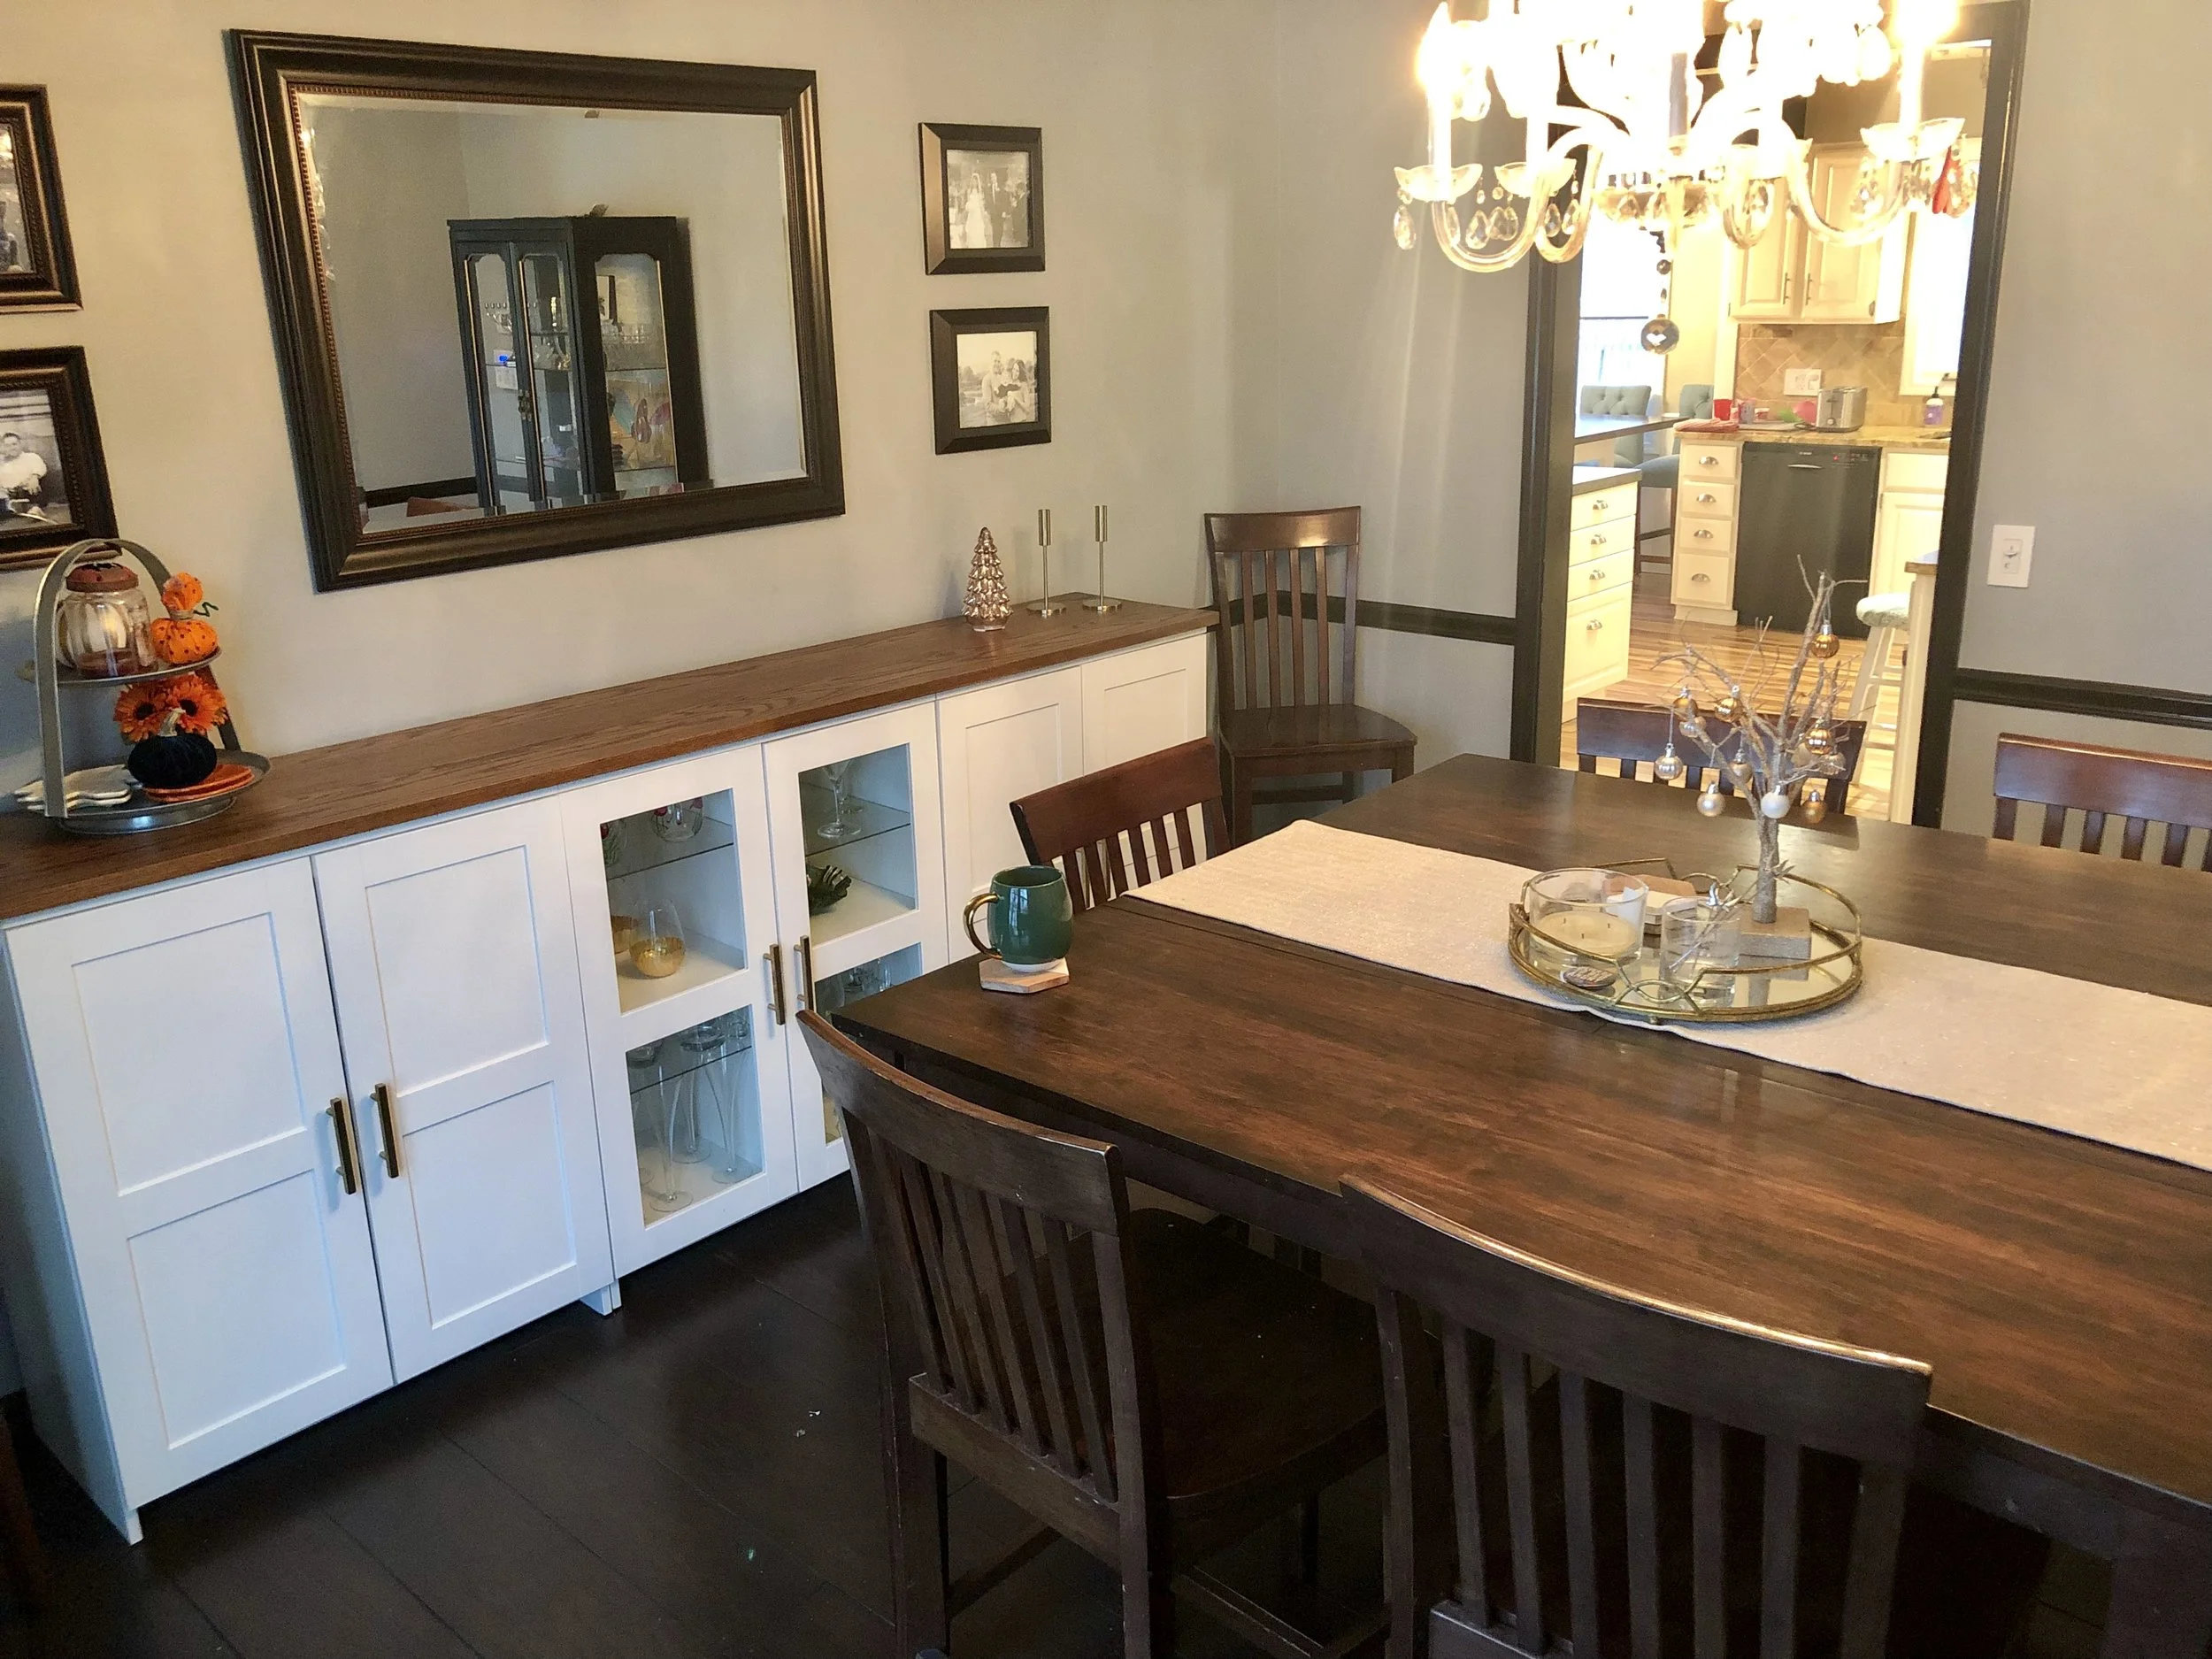
I love the way it came out!


I’m so happy with it! The total cost was about $300 for the Ikea cabinets, $25 for a 10 pack of cabinet pulls, and $150 to have the top piece milled. SO MUCH CHEAPER than buying anything, especially anything this large.

And it LOOKS AWESOME! So much more style was added to the room this way.
Everyone that comes over says it makes the room look larger too. I am not sure how that works, but I like it! Enjoy a few more photos!

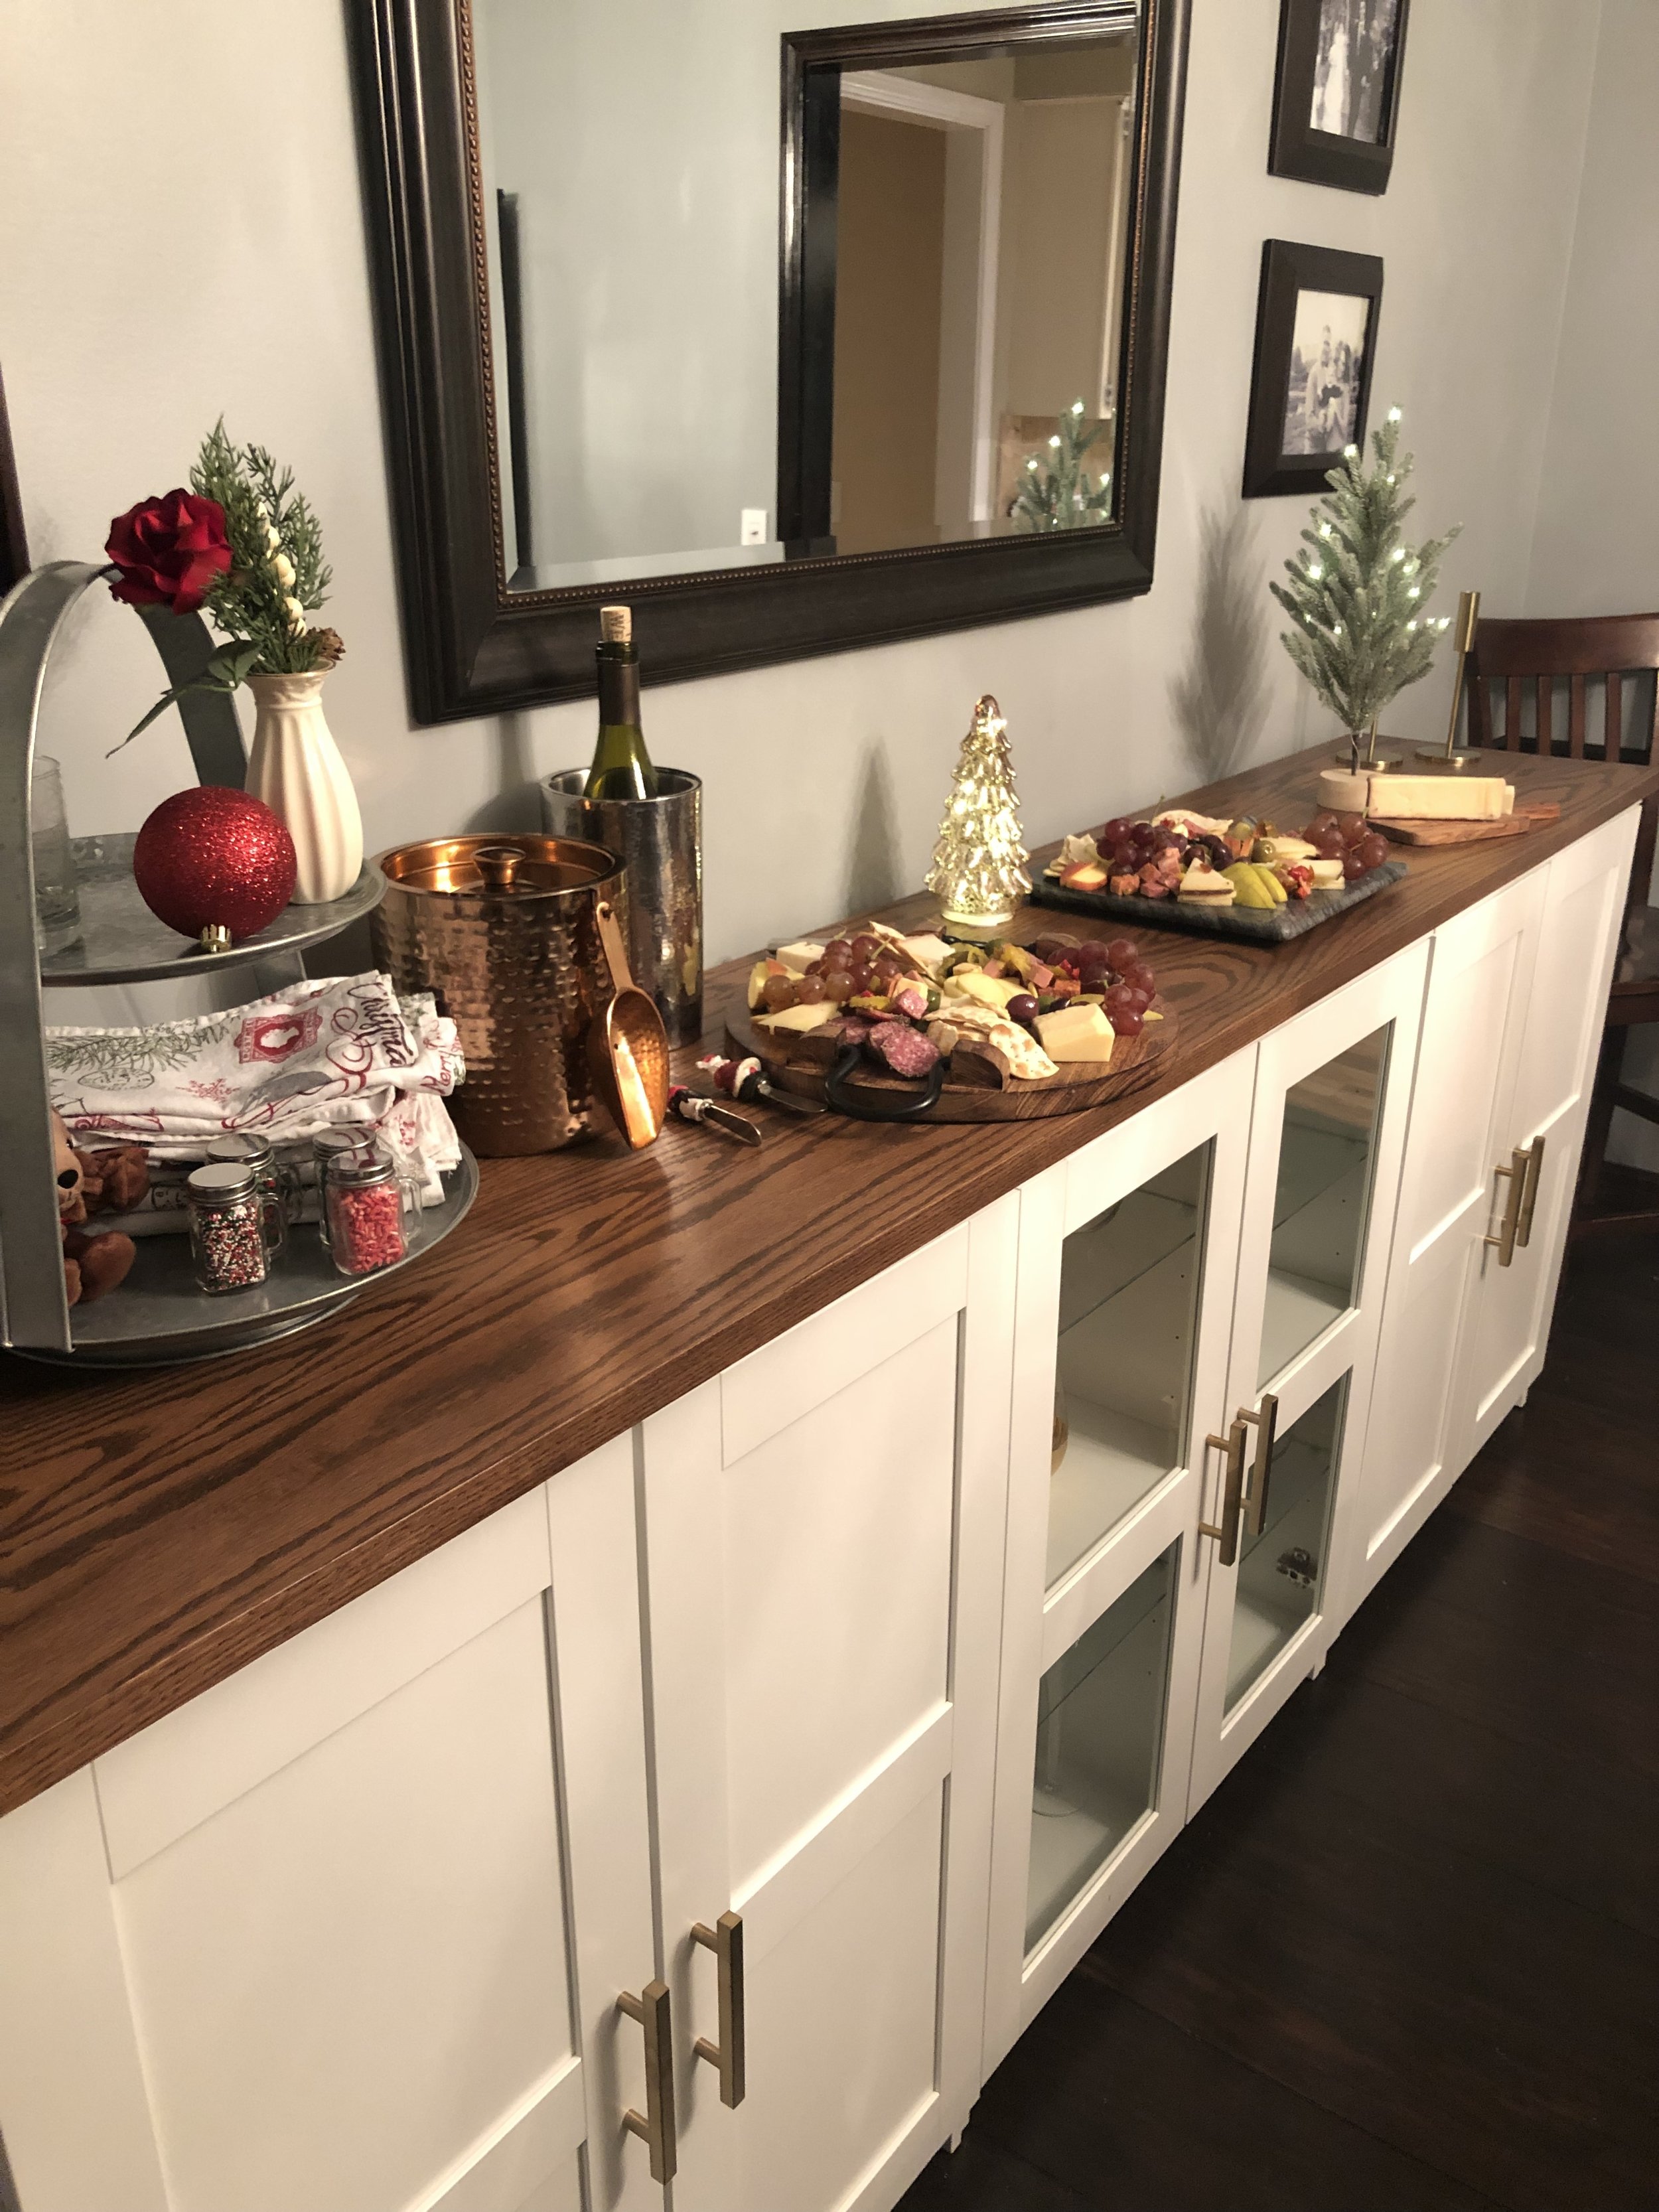
Decorated for the holidays!

Look at the counter space I was able to add. It looks really nice and it is functional!
Add some storage and style to your home and give it a try!